Master the Art of Making Tiny Nine Patch Quilt Blocks with These Simple Tips
Learning to sew a tiny nine patch quilt will enable you to enjoy the construction process and result in an amazing quilt for you to enjoy!
The nine patch quilt block is often the first quilt block beginning quilt makers will try. It’s easy and you can vary the design so much just by changing your fabric colors and combinations. Or, vary the scale of the blocks. Nine patch quilts are quick and beautiful to make.
Beginner instructions usually give you measurements and instructions for large scale blocks, like 6″, 9″ or 12″. The pieces are easy to manipulate and the seam allowances are more forgiving. Making smaller scale blocks lets you include more pieces which often makes a quilt more elegant and intriguing.
The nine patch block
By definition, a nine patch quilt block is made from nine squares. Usually, five squares are dark and four squares are light or vice versa. This creates contrast and design interest.
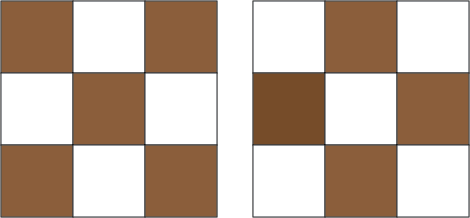
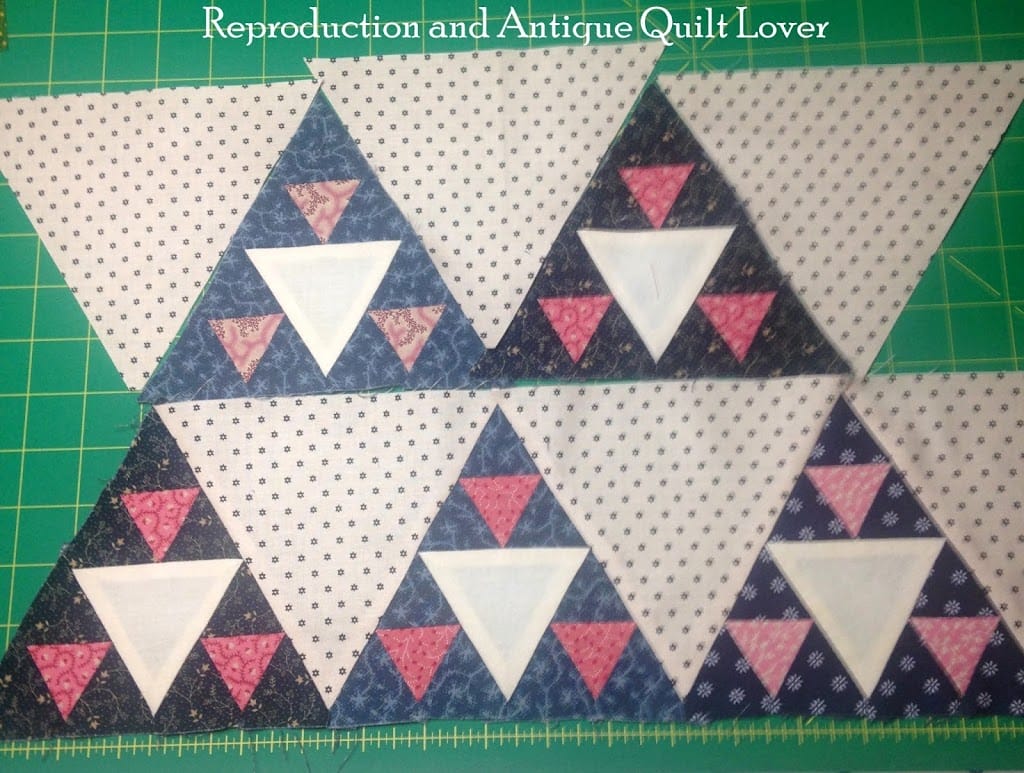
Other simple ways to vary a nine patch quilt are to set the blocks either straight (as they are in the illustration above), on point as in the quilt picture below, two fabrics/two color, or scrappy

Sizes of small nine patch blocks
As mentioned, beginners usually work with blocks that measure 6″ of more when finished. It’s harder working with smaller pieces because our fingers kind of get in the way. For purposes of this tutorial, I refer to little nine patches in three sizes:
- Small: 3″ finished, 3-1/2″ unfinished
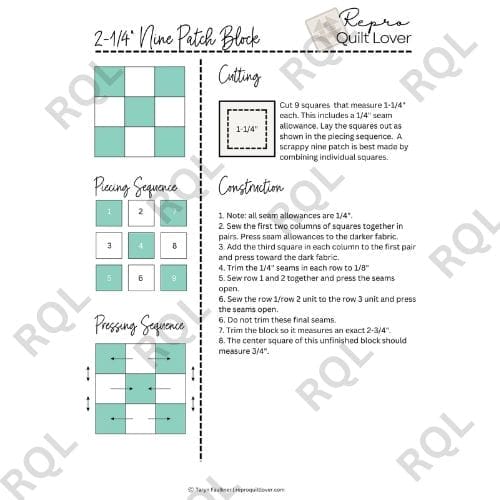
- Tiny: 2-1/4″ finished, 2-3/4″ unfinished
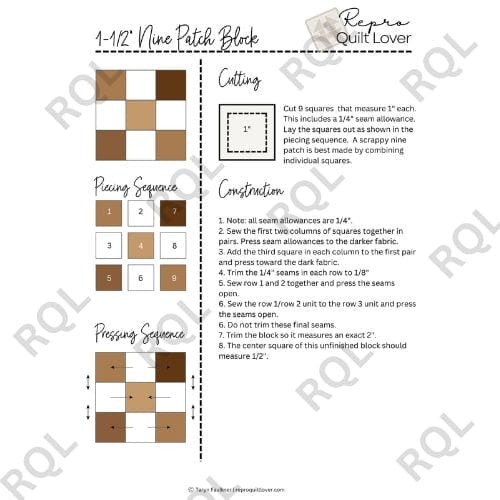
- Teeny Tiny: 1-1/2″ finished, 2″ unfinished.
Okay, the names of those sizes are a bit tongue in cheek. Normally, I’ll refer to the actual sizes but you get the idea of what I am talking about in this article. We want to make nine patches in a very small scale because we like little quilts and/or we want to make an exciting larger quilt with a LOT of fabrics.
Free Printable Nine Patch Block Instructions
Click the button below to download without the watermarks!

1-1/2″ Block Instructions 2-1/4″ Block Instructions 3″ Block Instructions

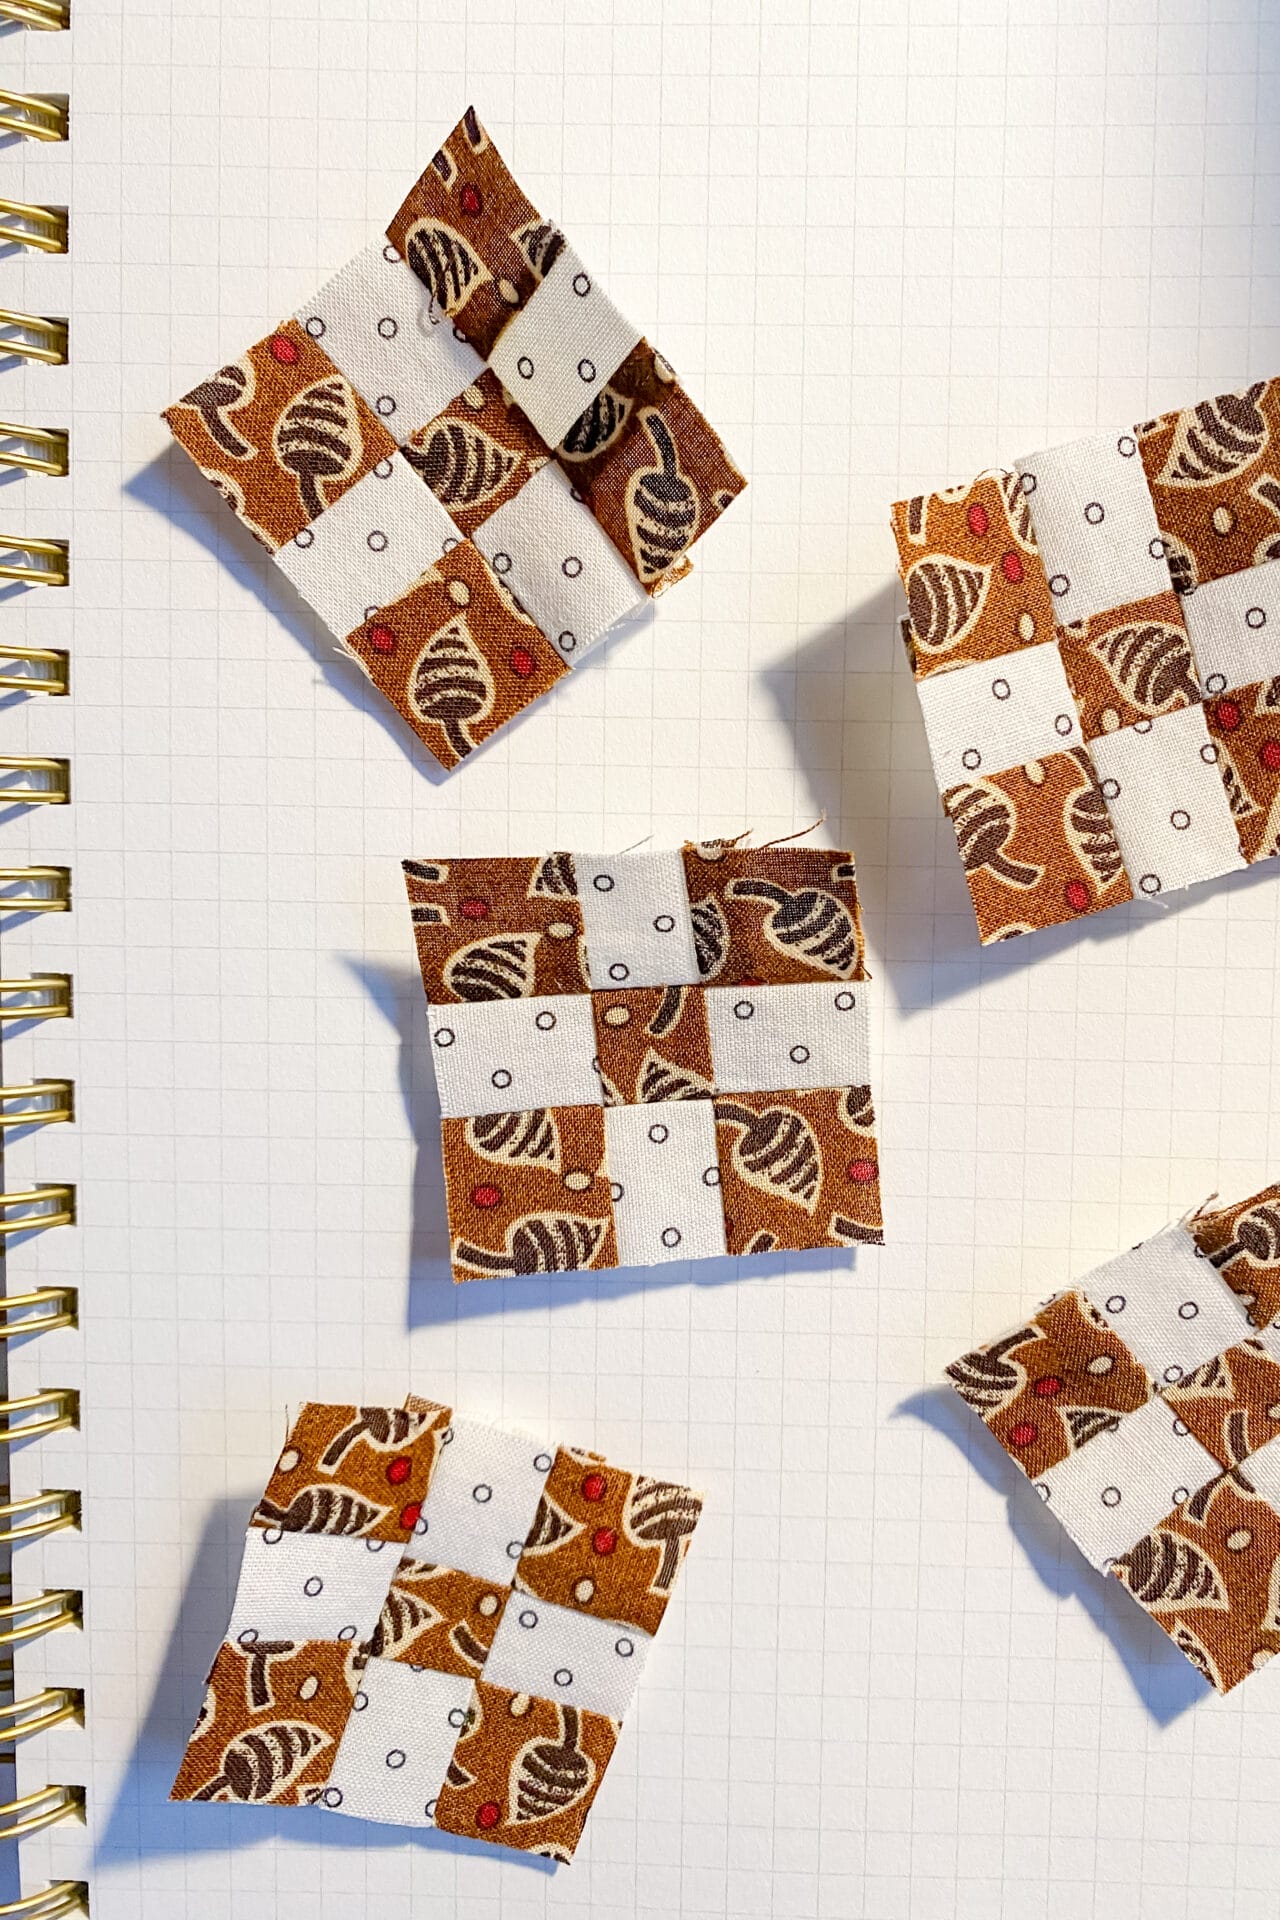
Making scrappy tiny nine patches – the square by square method
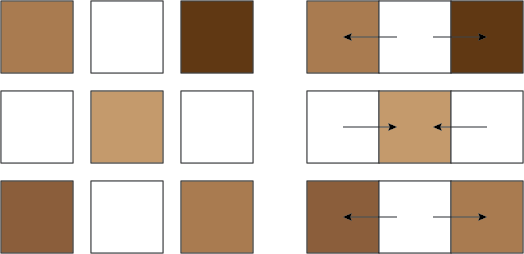
This method isn’t a shortcut but it’s the best way to make a nine patch if you want to include three or more fabrics in a little block. To do this, cut a total of nine squares in the unfinished size (see chart above). For the teeny tiny 1-1/2″ block, each square should measure 1″ x 1″. Lay them out in a 3 x 3 grid and start sewing the pieces together in rows using a shorter than normal stitch length (I use a 2) and a 1/4″ seam allowance. See illustration below.
Press the seam allowances toward the darker fabrics.
When the top, middle and bottom rows are sewn together with a 1/4″ seam allowance and the pieces are pressed toward the darker fabric, trim the seam allowance to 1/8″. Following the steps in this order is important. Do not trim until the row is complete and do not trim until the seam allowances have already been pressed toward the darker fabric. It’s just impossible to neatly press a 1/8″ seam allowance.
The reasons for smaller seam allowances are: (1) the quilt will have a nicer drape because there is less bulk on the back, and (2) if you plan to hand quilt, you’ll have a much easier time than if there were a lot of bulky seams. If you make a mistake and forget to trim a seam allowance here and there, don’t stress about it. Just leave it and try to remember the next time. Don’t waste your time ripping and resewing.

Remember to use the shorter stitch length and 1/4″ seam allowances throughout the tiny block making portion of the project. The shorter stitch length gives more stability to tiny squares.
Now it is time to sew the three rows together in the nine patch. See photo below.

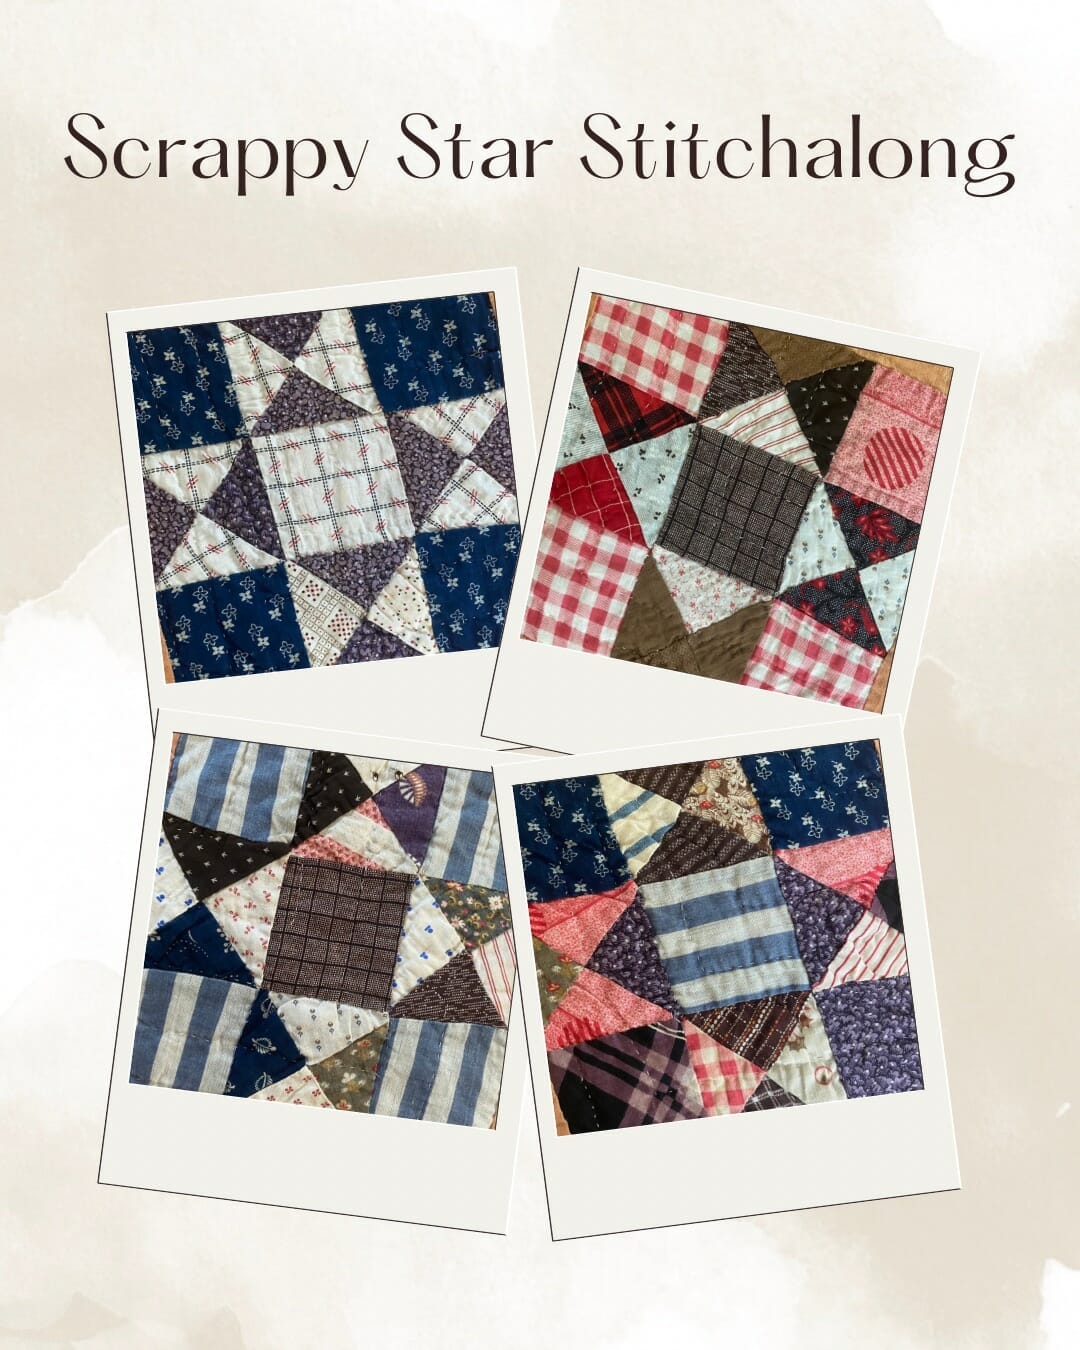
The Tiny Nine Patch Challenge project
All this talk about tiny nine patches began with an antique quilt from my collection. It is made up of 480 1-1/2″ nine patch quilt blocks as well as a couple of borders with even more tiny squares. Since that quilt dates to the last quarter of the 19th century, it’s fragile and I don’t leave it out much. My goal was to reproduce the quilt so that I can enjoy the same aesthetic but with sturdier fabrics.

Making that many blocks is a tedious endeavor so I opened the project up to the fabulous quilters in my Instagram and Facebook communities. The response has been phenomenal and making scrappy little blocks is so much fun when you have others to share the experience with. If you want to learn more about the TNP project, click here.
I promised our quilt makers to share some specifics for those who want to closely reproduce the antique inspiration quilt. That information is below.
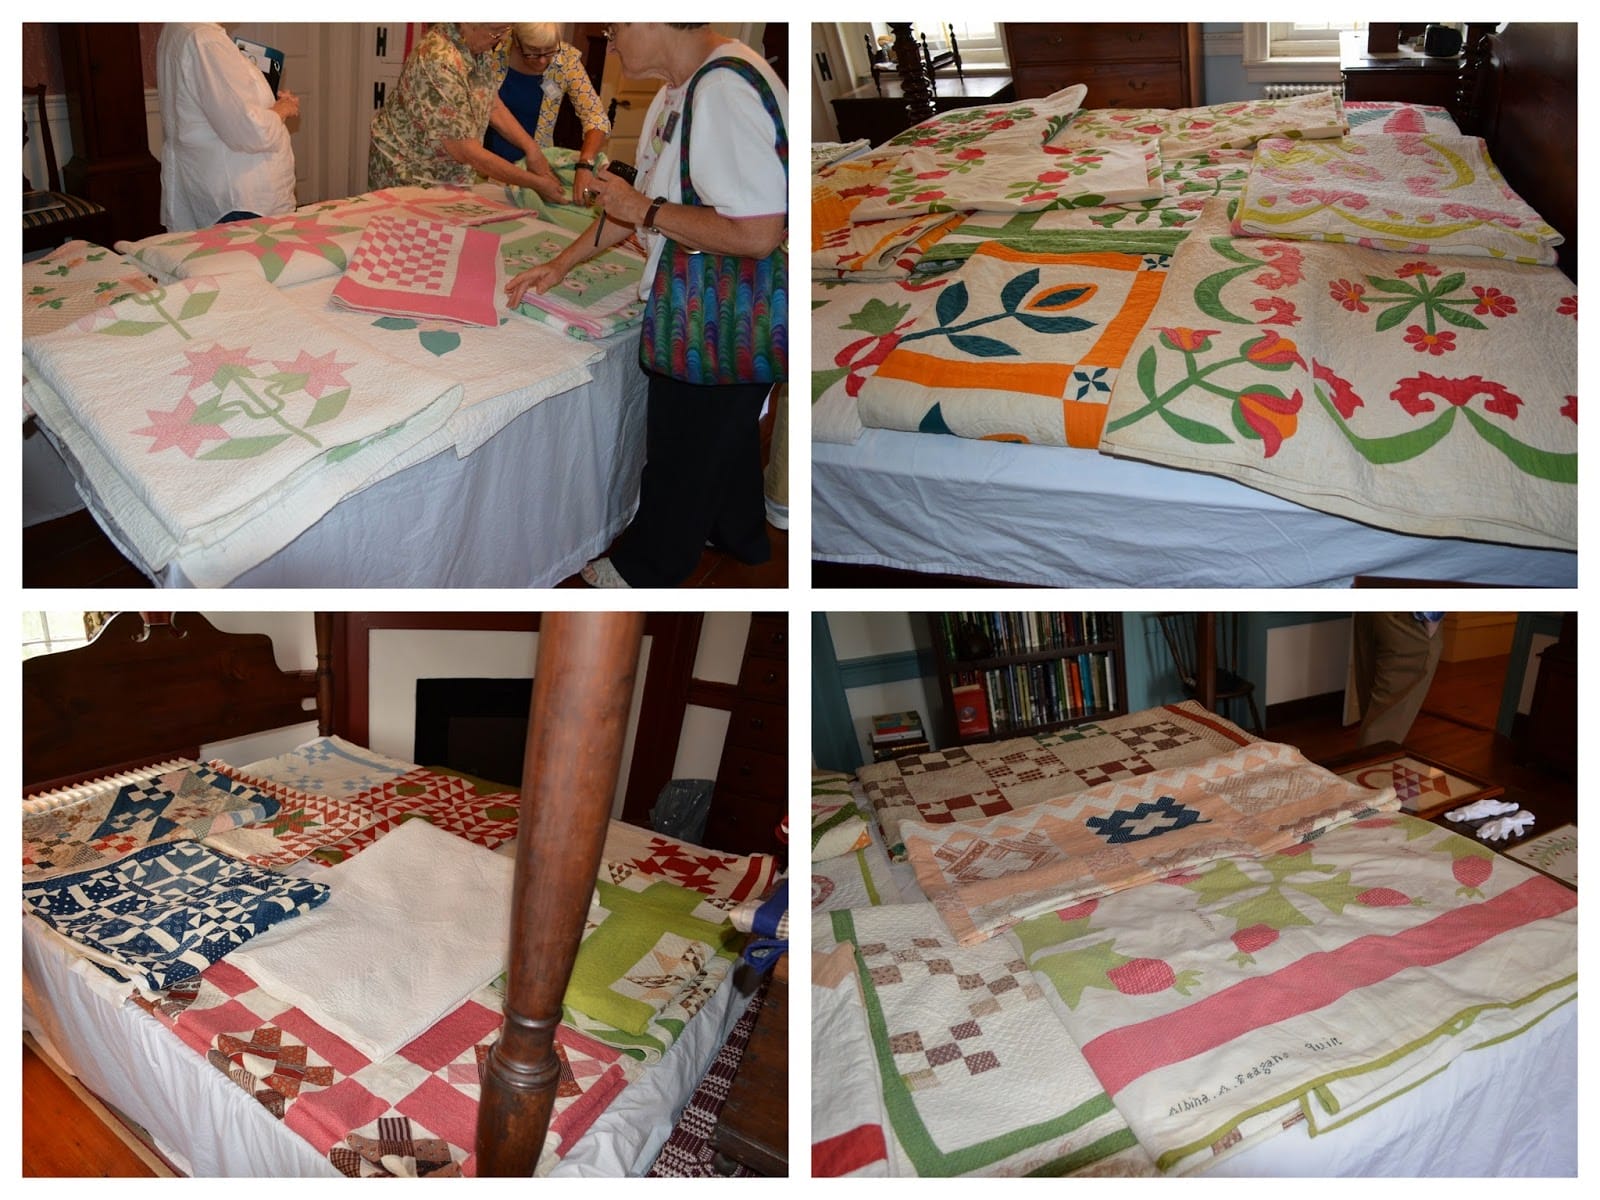
The Original Tiny Nine Patch Quilt
- The finished quilt measures about 59″ x 69″
- There are (480) 1-1/2″ finished scrappy nine patch blocks
- Border 1 is made from a large variety of unfinished 1″ squares sewn together to make a finished 1″ border
- Border 2 is made from a 1-1/2″ finished strip of the background fabric
- Border 3 is made from alternating 3/4″ print squares and 3/4″ plain background squares to make a checkerboard effect
- Border 4 (outer border) is made from a 1-1/2″ wide strip of the background fabric
You’ll have to measure the width and length of the quilt center to determine the exact measurements of the borders. We will tackle this in more detail later in the Challenge year (probably in December).


Dear Taryn, I love this project. I need some clarification on the border number three alternating checkerboard pattern. It says of three-quarter inch squares. Are they finished or unfinished at three-quarter inch? Thank you so much
I had the same question!
Great idea for Using scraps . I’m doing it as a EPP either iron on paper so I don’t have to take them out . Plan on making a king size quilt so not sure how long it will take me .
I cannot find the set on point blank coloring sheet. How can I get a copy to use with my tiny nine patch layout.
Thank you
How much fabric do we need for the solid squares and the border
Thank you so much. I have never made one this tiny so I have a lot to learn but am excited. I am making my blocks with 1” squares—5 squares of Kaffe and 4 black with tiny white dots—not sure on the background—going with a group to audition different colors.
Taryn, i can’t thank you enough for this tiny nine-patch challenge, one because for the longest time i have wanted to do SOMETHING with all my scraps, but nothing seemed like something i could do without getting lost in it second, because at this time of year for me, i don’t really have chunks of time, and hardly any time to concentrate seriously on hand work. this is exactly what i need, i can pick it up, put it down, little bite-size moments of time, and in the end, without even costing anything,a beautiful quilt.
thank you, thank you, and thank you again.
shoshana
Great post, Taryn. I love the tiny 9-patch blocks. Your small quilt is precious. And that is a fantastic vintage quilt. You have the best SALs, and I enjoy watching results as others join in. I am focused on UFOs, and have promised myself not to join anything, but I’ll admit that your SALs are very tempting!
Taryn… I have a question…am wondering if there was yardage requirements posted that i missed. I realize it is scrappy, but if alternating blocks and light squares would be same, what to plan on? Thanks so much for help!
Can you post the sizes for the triangles that will be needed?
The quilt is beautiful, I will be sewing along. Thanks so much for sharing.
Looks like fun! What size do you make the squares for the 2 1/4 block?
Thanks for the great tutorial, Taryn. Is this a stitch-along on Instagram, on Facebook, or here on your blog? Thanks!