How to Make a Little Bowtie Block: Free Quilt Tutorial
From our series “Favorite Blocks for Small Quilts”
This post may contain affiliate links which means if you purchase a product through one of my links I may be paid a commission without any additional cost to you.
Learn to make a bowtie block using a quick quilt hack that eliminates those dreaded set-in seams. This method is a fantastic way to make tiny blocks the easy way. One slight alteration makes these bowtie blocks a breeze to sew and the design looks nearly identical to the traditional block. Skill level: confident beginner or intermediate quilter. The small pieces can be a little fiddly.
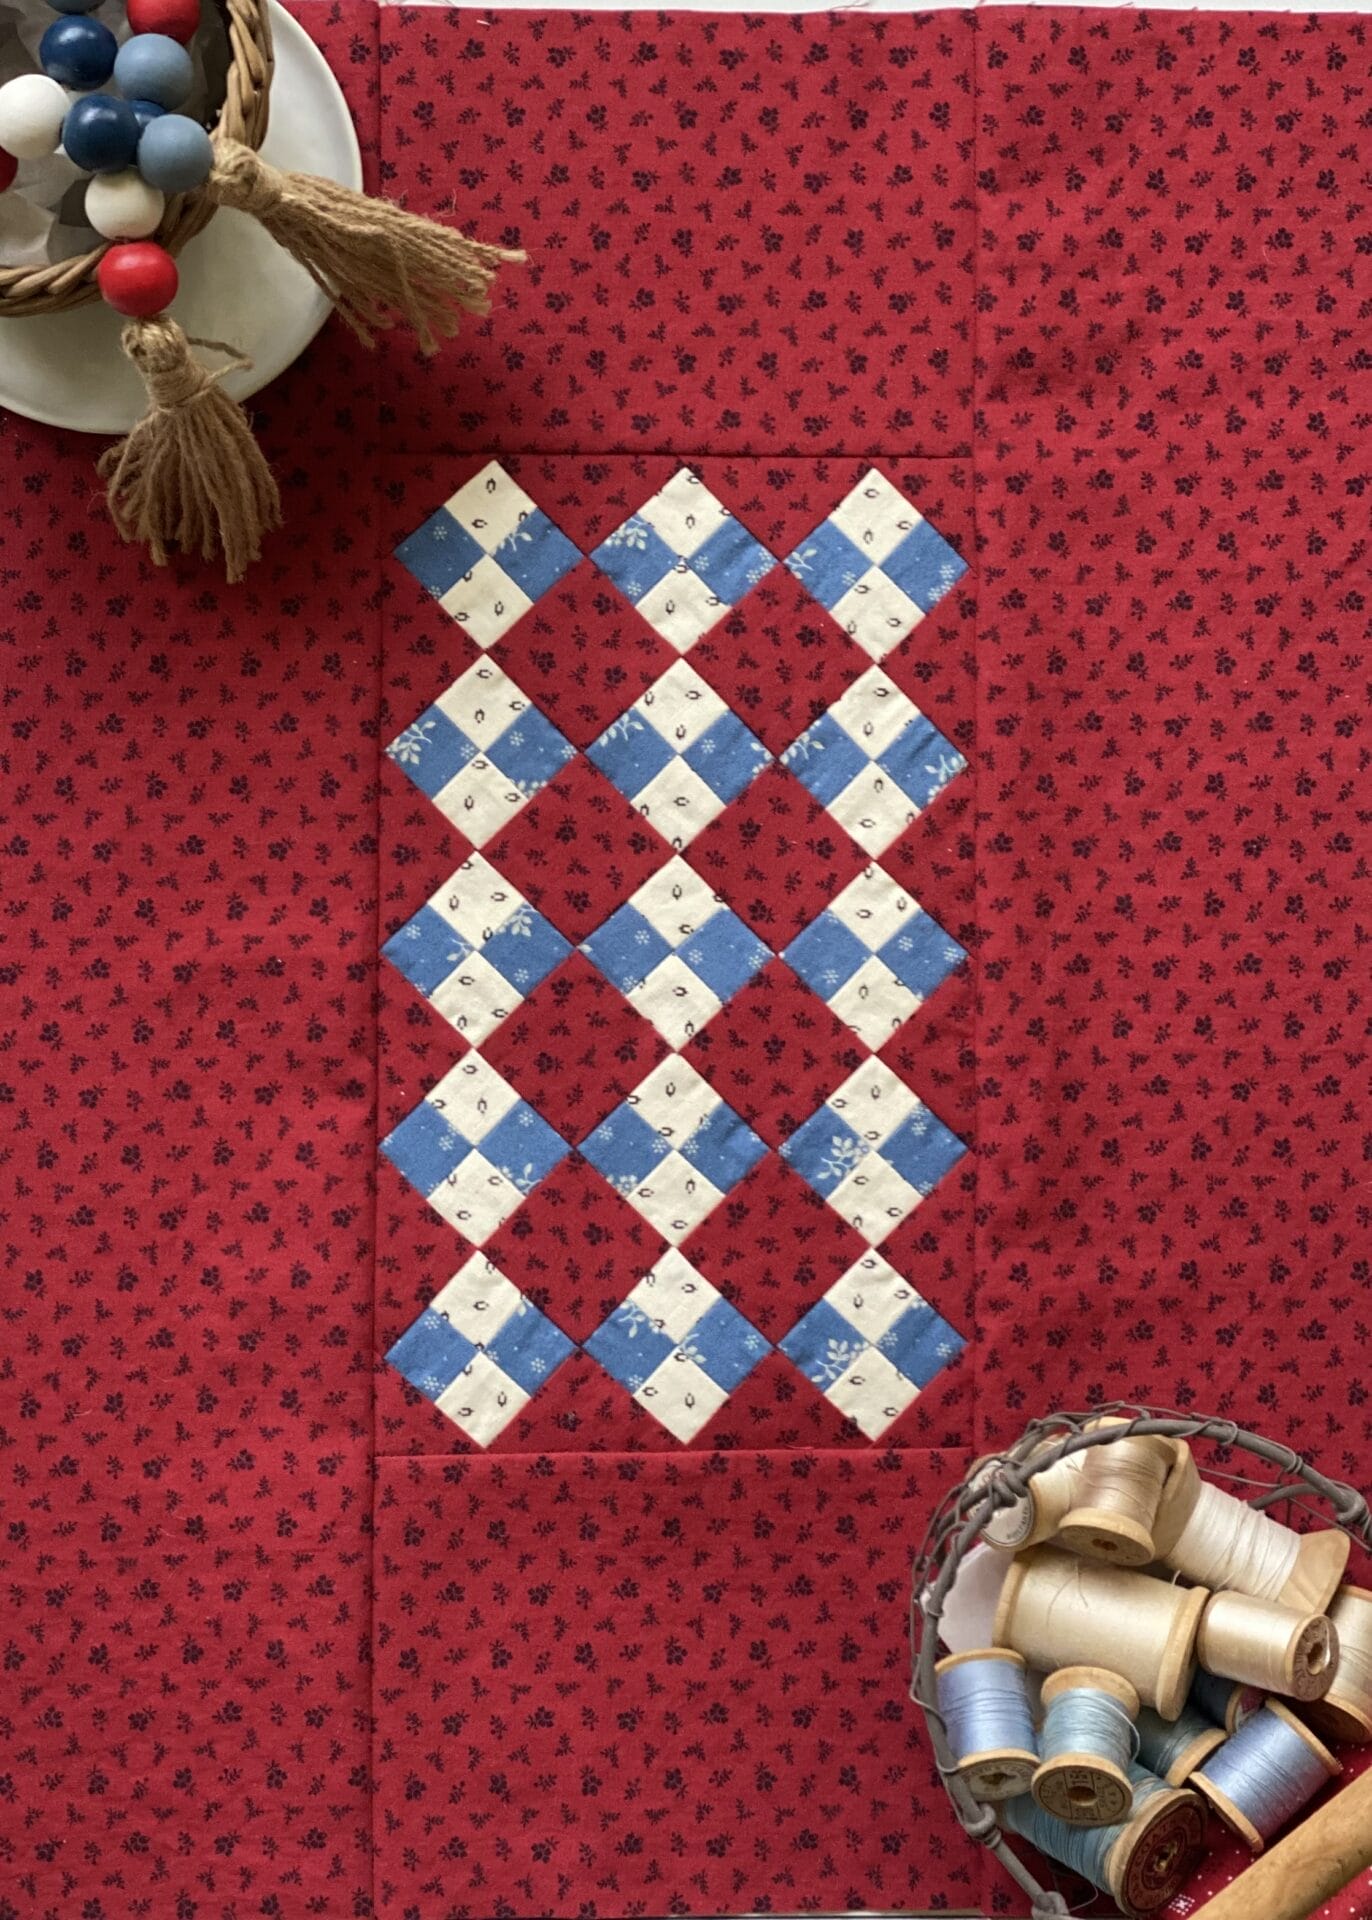
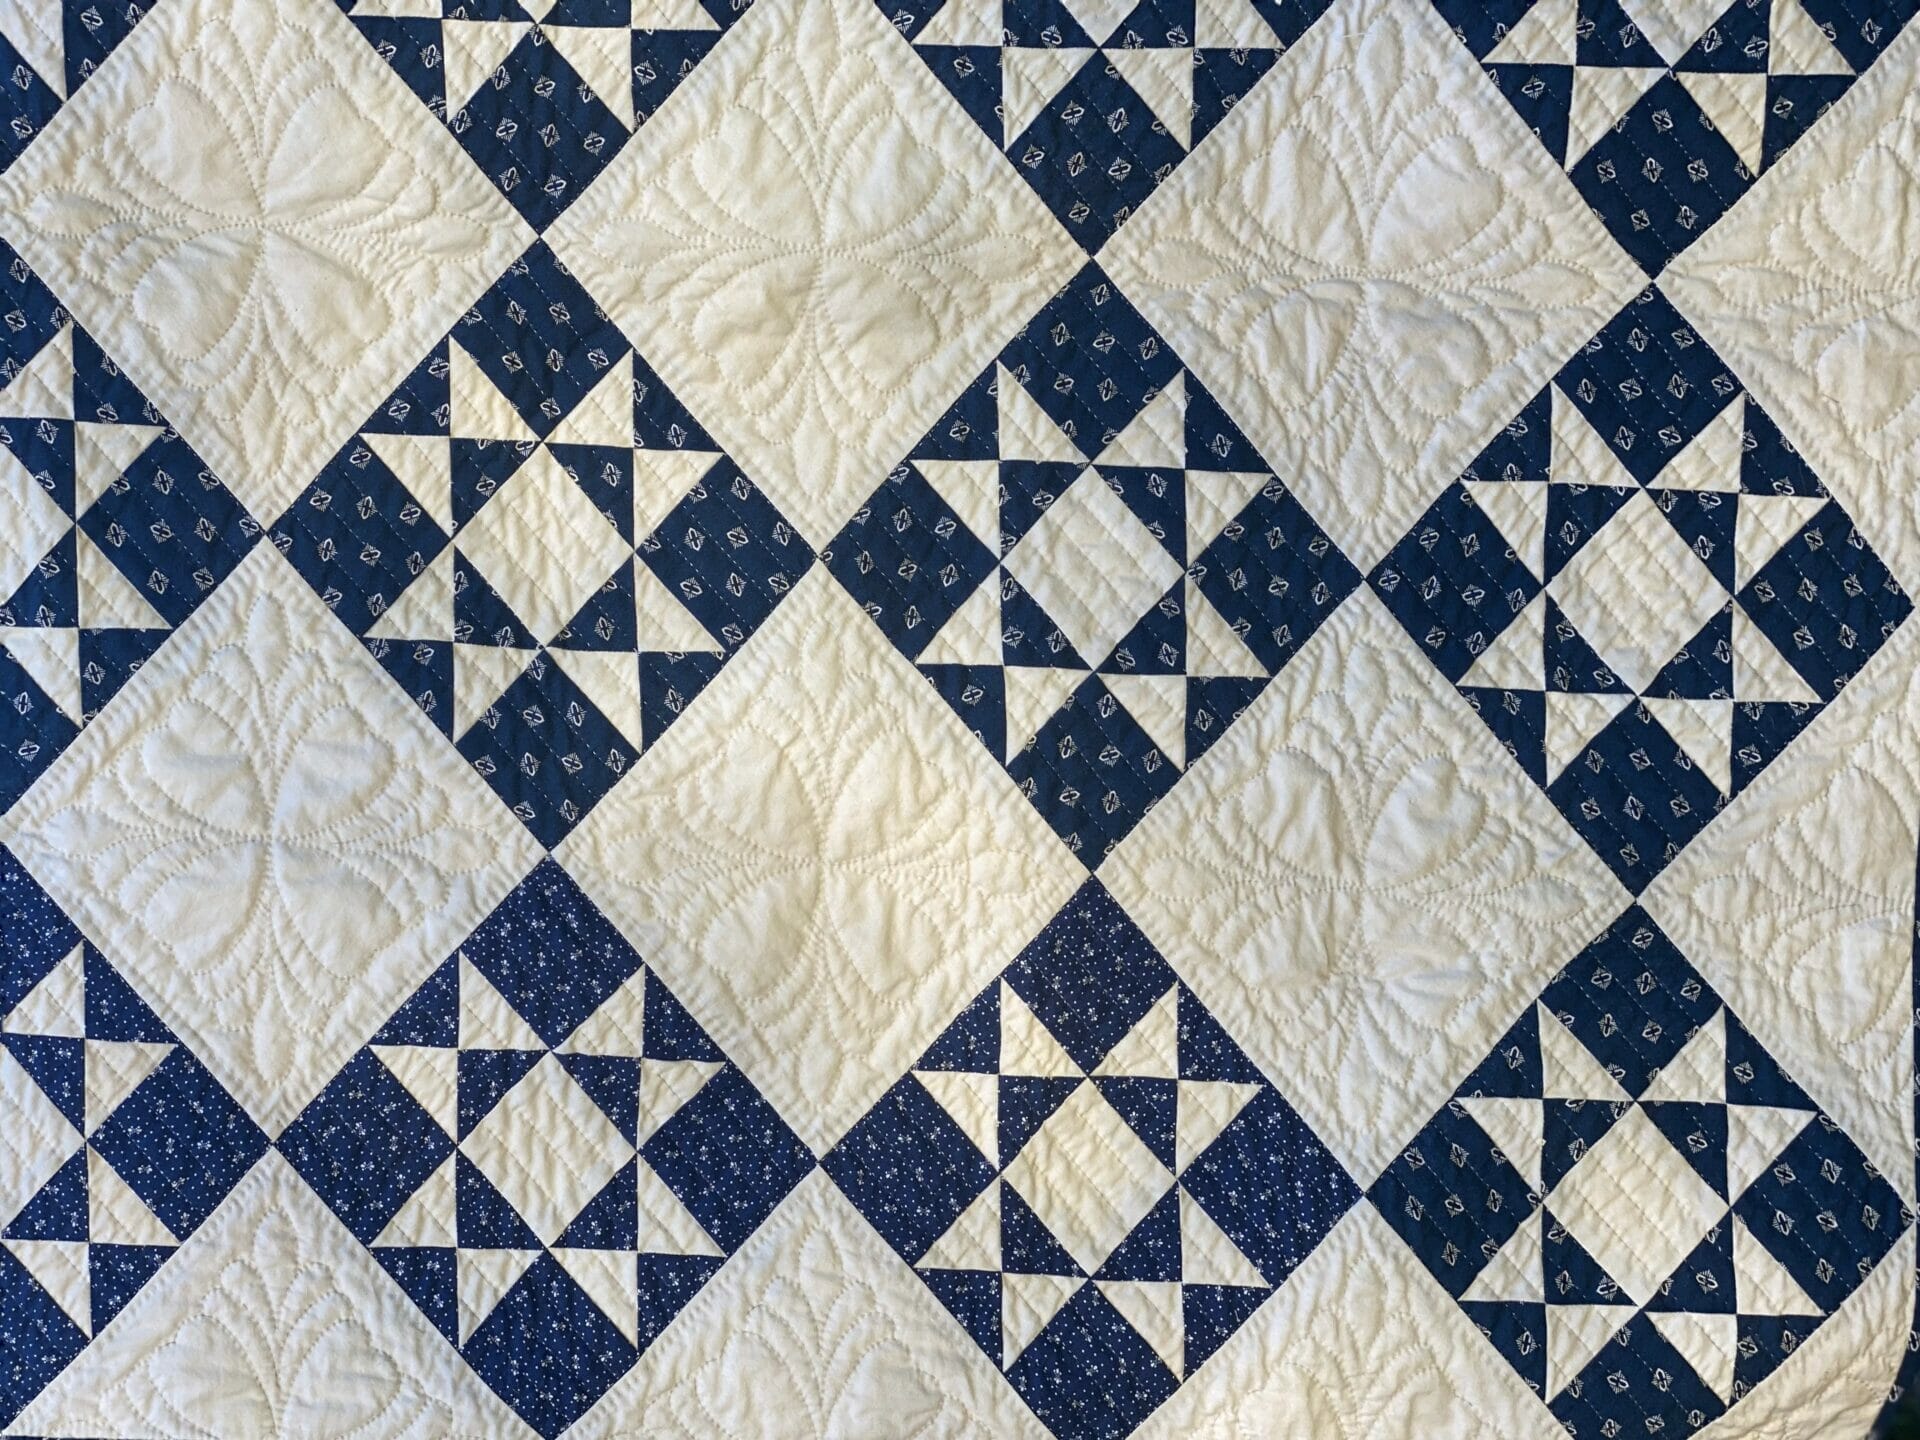
This little quilt pattern is perfect for vintage decorating. It measures 7-1/2″ x 10-1/2″ and can be tucked into vintage vignettes or hung on the wall, with or without a frame. There are many options for color palettes. My favorite choices are 1930s reproductions for a cheery floral look, all different scraps would be super fun, and two-color which is what I chose to use here. The inspiration for my quilt was an antique doll quilt I found in the book The American Quilt: A History of Cloth and Comfort 1750-1950 by Roderick Kiracofe and Mary Elizabeth Johnson, page 112.
How to Make a Little Bowtie Quilt Block
Below are the instructions for making a mini bowtie block. If you want to make the quilt from the pattern at the end of this post you’ll need a total of eight 2″ square bowtie blocks.
To start, you will need a light and a dark fabric. This little block doesn’t require much fabric. The dark piece should be about 3″ x 3-1/2 and the light piece should be about 2″ x 3-1/2″.
Step 1:
Cut two dark squares and two light squares 1-1/2″ x 1-1/2″; cut two dark squares 1″ x 1″.

Step 2:
Draw a diagonal line, corner to corner, on each of the 1″ dark squares. Align the small squares with a corner of each of the light squares.
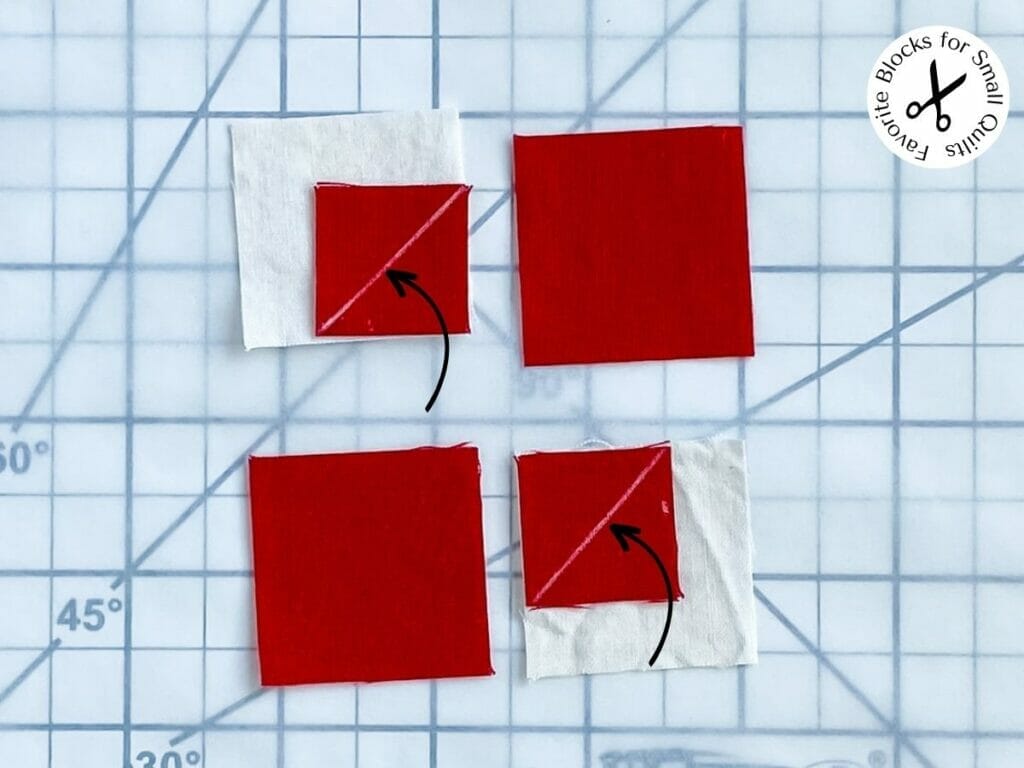
Step 3:
Stitch along the diagonal line you drew.

Step 4:
Trim the seam to about 1/8″.

Step 5:
Press the small triangle open so that you have a light square with a small dark triangle on one corner. Assemble the block as you would any four patch block.
- Stitch the top two squares together and press the seam open as this reduces bulk which is important for such a small block. Repeat for the second pair of squares.
- Stitch the pairs of squares together to form a four patch block. Press the seam open.

Step 6:
The finished little bowtie block measures 2-1/2″ unfinished and will finish to 2″.

Congratulations! Your first little bowtie quilt block is finished! Now, it’s time to make the little quilt. You will need eight blocks to make the quilt patterned below.
Little Bowtie Quilt Pattern

Materials
- If you want to make this quilt out of just two fabrics, pick a dark and a light. A fat quarter (18″ x 21″) of each will be plenty.
- If you wish to make scrappy bow tie blocks on a single fabric background, pick eight different dark fabrics and a light colored fat quarter.
Cutting instructions
For the blocks:
- From light, cut (16) 1-1/2″ squares
- From dark, cut (16) 1-1/2″ squares and (16) 1″ squares
For the background, borders and binding:
From light, cut:
- Cut two 4″ light squares, then cut in half diagonally, twice (like an “X”), to make four quarter square triangles (8 total). These are for the top and sides and you’ll only need six of them. These triangles are bigger than you’ll need so trim to fit after stitching the top together.
- Cut two 3″ light squares then cut once diagonally to make four half square triangles. These are for the corners of the quilt top. Trim to fit if necessary.
- Borders are cut 1-1/4″ wide. Measure your top after assembling and cut border lengths to size needed.
- Binding is cut 1-1/2″ wide.
Quilt Assembly:
Lay out your finished blocks and background pieces like the illustration below.

Add the borders. Layer the backing, batting and quilt top and quilt as desired.
Bind using your favorite method.
You’re finished! Enjoy your little bowtie quilt.
This pattern is part of the Repro Quilt Lover series on Favorite Blocks for Small Quilts. If you’d like to learn more about which blocks make great small quilts, visit our four patch tutorial!


Thank you for the tutorial – I’m saving this one ❤️
Hi Taryn – love your little quilt. Looking forward to next month’s.
please consider adding a Print friendly button. thank you. Love this!
I just found your blog and began following you. Thank you for the tutorial for the adorable Mini Bowtie Quilt. I saw some antique quilts that I wish had tutorials. The parts are teeny and so precise. I have no idea how the people had the patience with the tools they had at hand in that time. I can not imagine trying to piece with the precision they did with the lighting they had to endure. Thanks for blogging and sharing.
Susan
What a sweet little quilt. Thanks for the tutorial.