How to Make Scrappy Four Patch Quilt Blocks in Minutes
This tutorial demonstrates how to use a modified strip piecing technique to make many scrappy four patch blocks much quicker than going square by square.
Introduction
Strip piecing works well when only using two fabrics to make four patch blocks but it won’t work if you want a scrappy quilt. Instead, a modified technique using rectangles instead of strips is a fast and easy way to get a lot of scrappy variety in your four patch blocks.
How to make a scrappy four patch using rectangles
Step 1: Cutting the rectangles
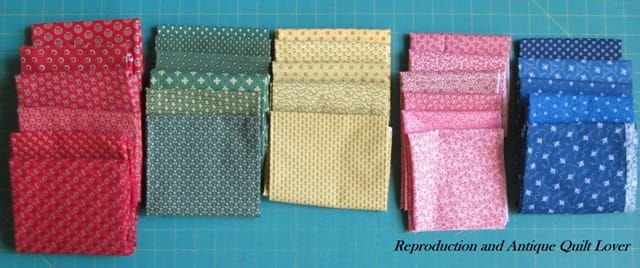
For this example, I am making finished 2″ square four patch blocks. So, to factor in the 1/2″ seam allowance, cut 1-1/2″ x 3″ rectangles from a wide variety of fabrics. Try to cut them from lights and darks to give a bit of contrast to your quilt. Of course, light and dark is subjective and the quilt can be interesting if you vary the values of the fabric. Too many mediums makes the colors blend together. This isn’t a bad thing if you like a more muted quilt but it is something to keep in mind when designing.
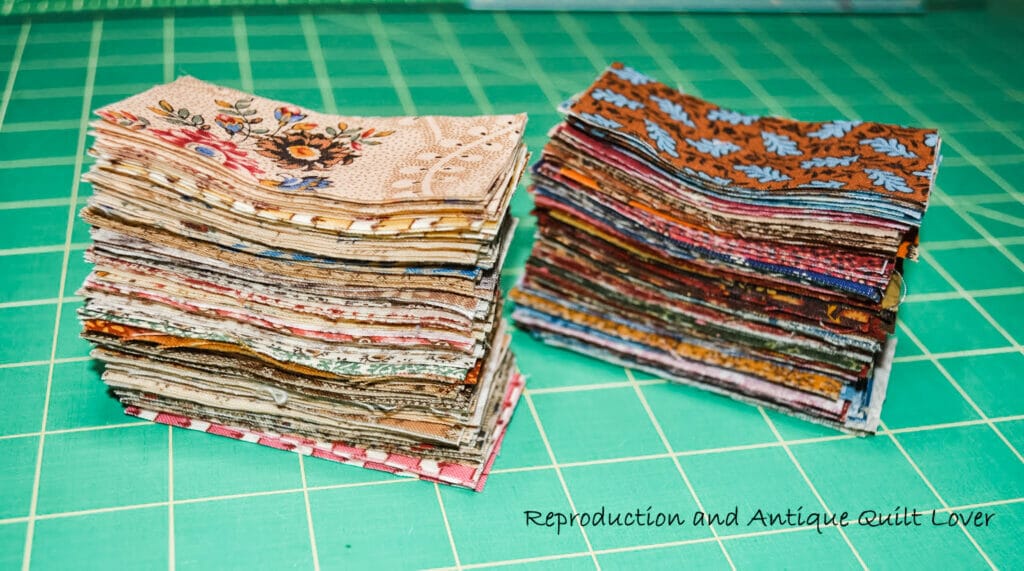
Stack your rectangles into a pile of lights and a pile of darks.
Note: It is helpful if you keep a box of 1-1/2″ strips stored with your stash. Then you can just pull out the bin and start cutting rectangles.
Step 2: Sewing the rectangles together
Match a dark rectangle and a light rectangle, right sides together (rst) and sew them together along the long side using at 1/4″ seam allowance. Sew together as least 8 pairs.

Note: I use a scant 1/4″ seam allowance which will make the finished four patch just a tiny bit bigger than the desired 2-1/2″ unfished size. That way, I can trim the block so that it is exactly the size I want. Press the seams toward the darker fabric.

See my sewing machine screen below. The needle is one position to the right of center. This setting still works with my straight stitch presser foot. Double check yours before sewing so you do not damage your machine!

Step 3: Sewing the pairs into strips
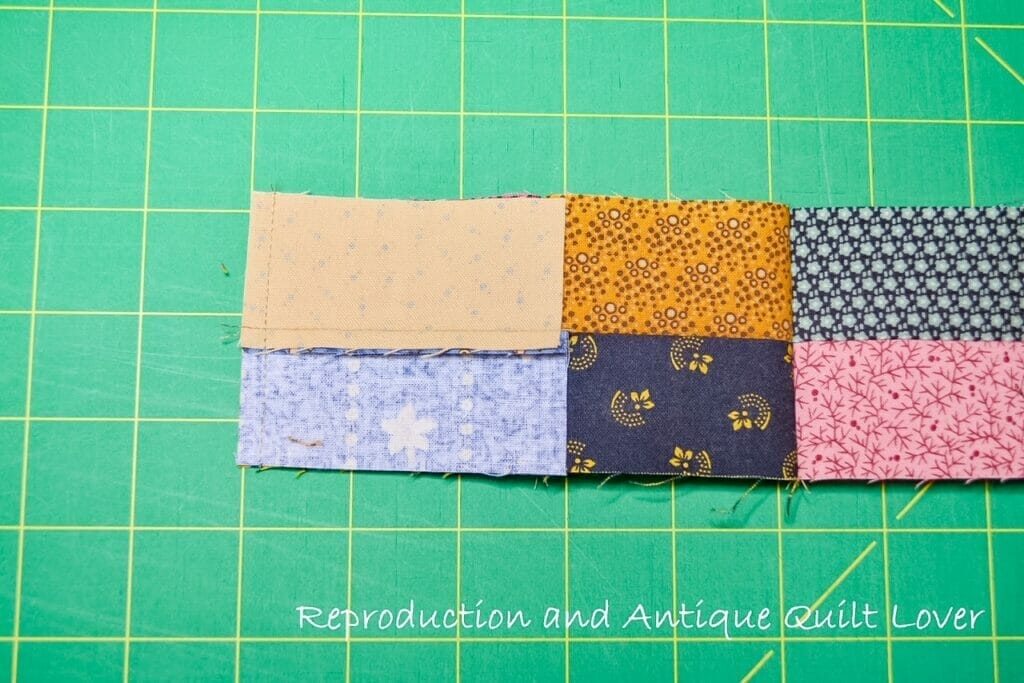
Stitch the pairs together along the short sides and form a long strip, about eight pairs long. See the image below and make sure you alternate the position of the dark rectangles in your strip. DO NOT press these seams yet. That comes later.


Step 4: Cutting the rectangle strips into 4-patch squares
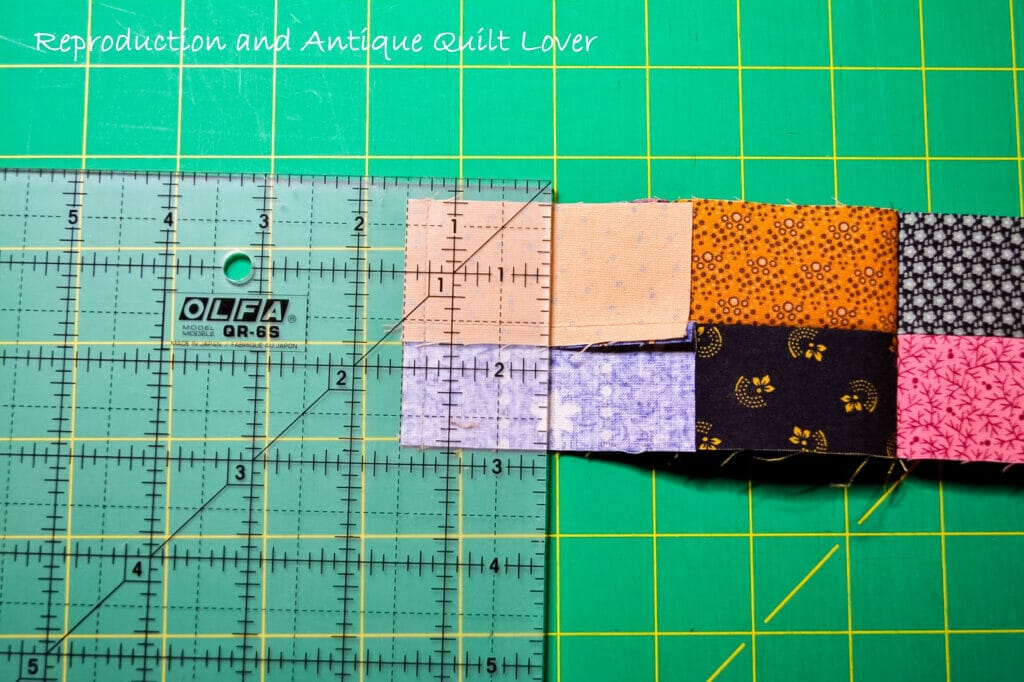
Lay your strip on your cutting mat and flip the first pair of strips over so that right sides are together and the stitched seam is on your left.
Using your rotary cutter and ruler, measure 1-1/2″ from the left side and cut. See image below.
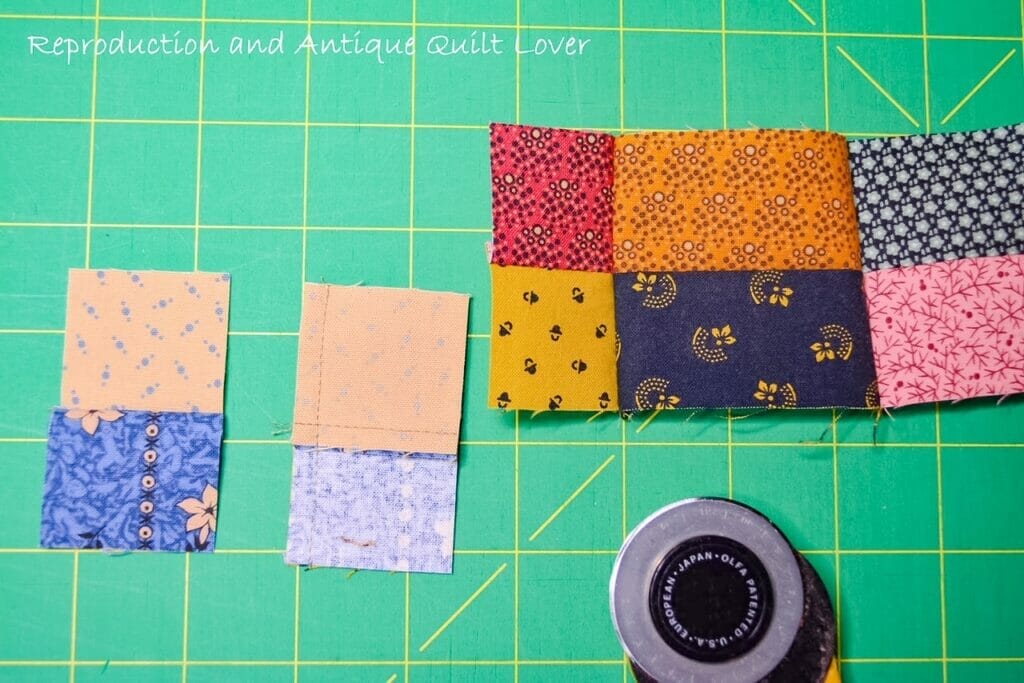
After this first cut you will have a four patch (piece in center) and two squares sewn together (piece on left). Set the latter aside for now.
Now flip the next little section over so the seam is to your left and cut another 1.5″ section.

Keep cutting and flipping and cutting again for the whole strip. When you get to the end, you will have another piece with just two squares.

The piece you set aside at the start of the strip can be sewn together with the piece that was left over from the last cut to form one more four patch block.

Press the seam open for each four patch block you just made. It’s quick and the block lays flatter.

Step 5: Squaring up the four patch blocks
As mentioned previously, the reason I like to sew with a scant 1/4″ seam is so that it is just a bit bigger than I need and I can trim the finished four patch so that it measures exactly 2.5″. Measure each four patch you just made and trim if necessary.

It’s not much but I got this little pile from trimming about 24 four patch blocks.

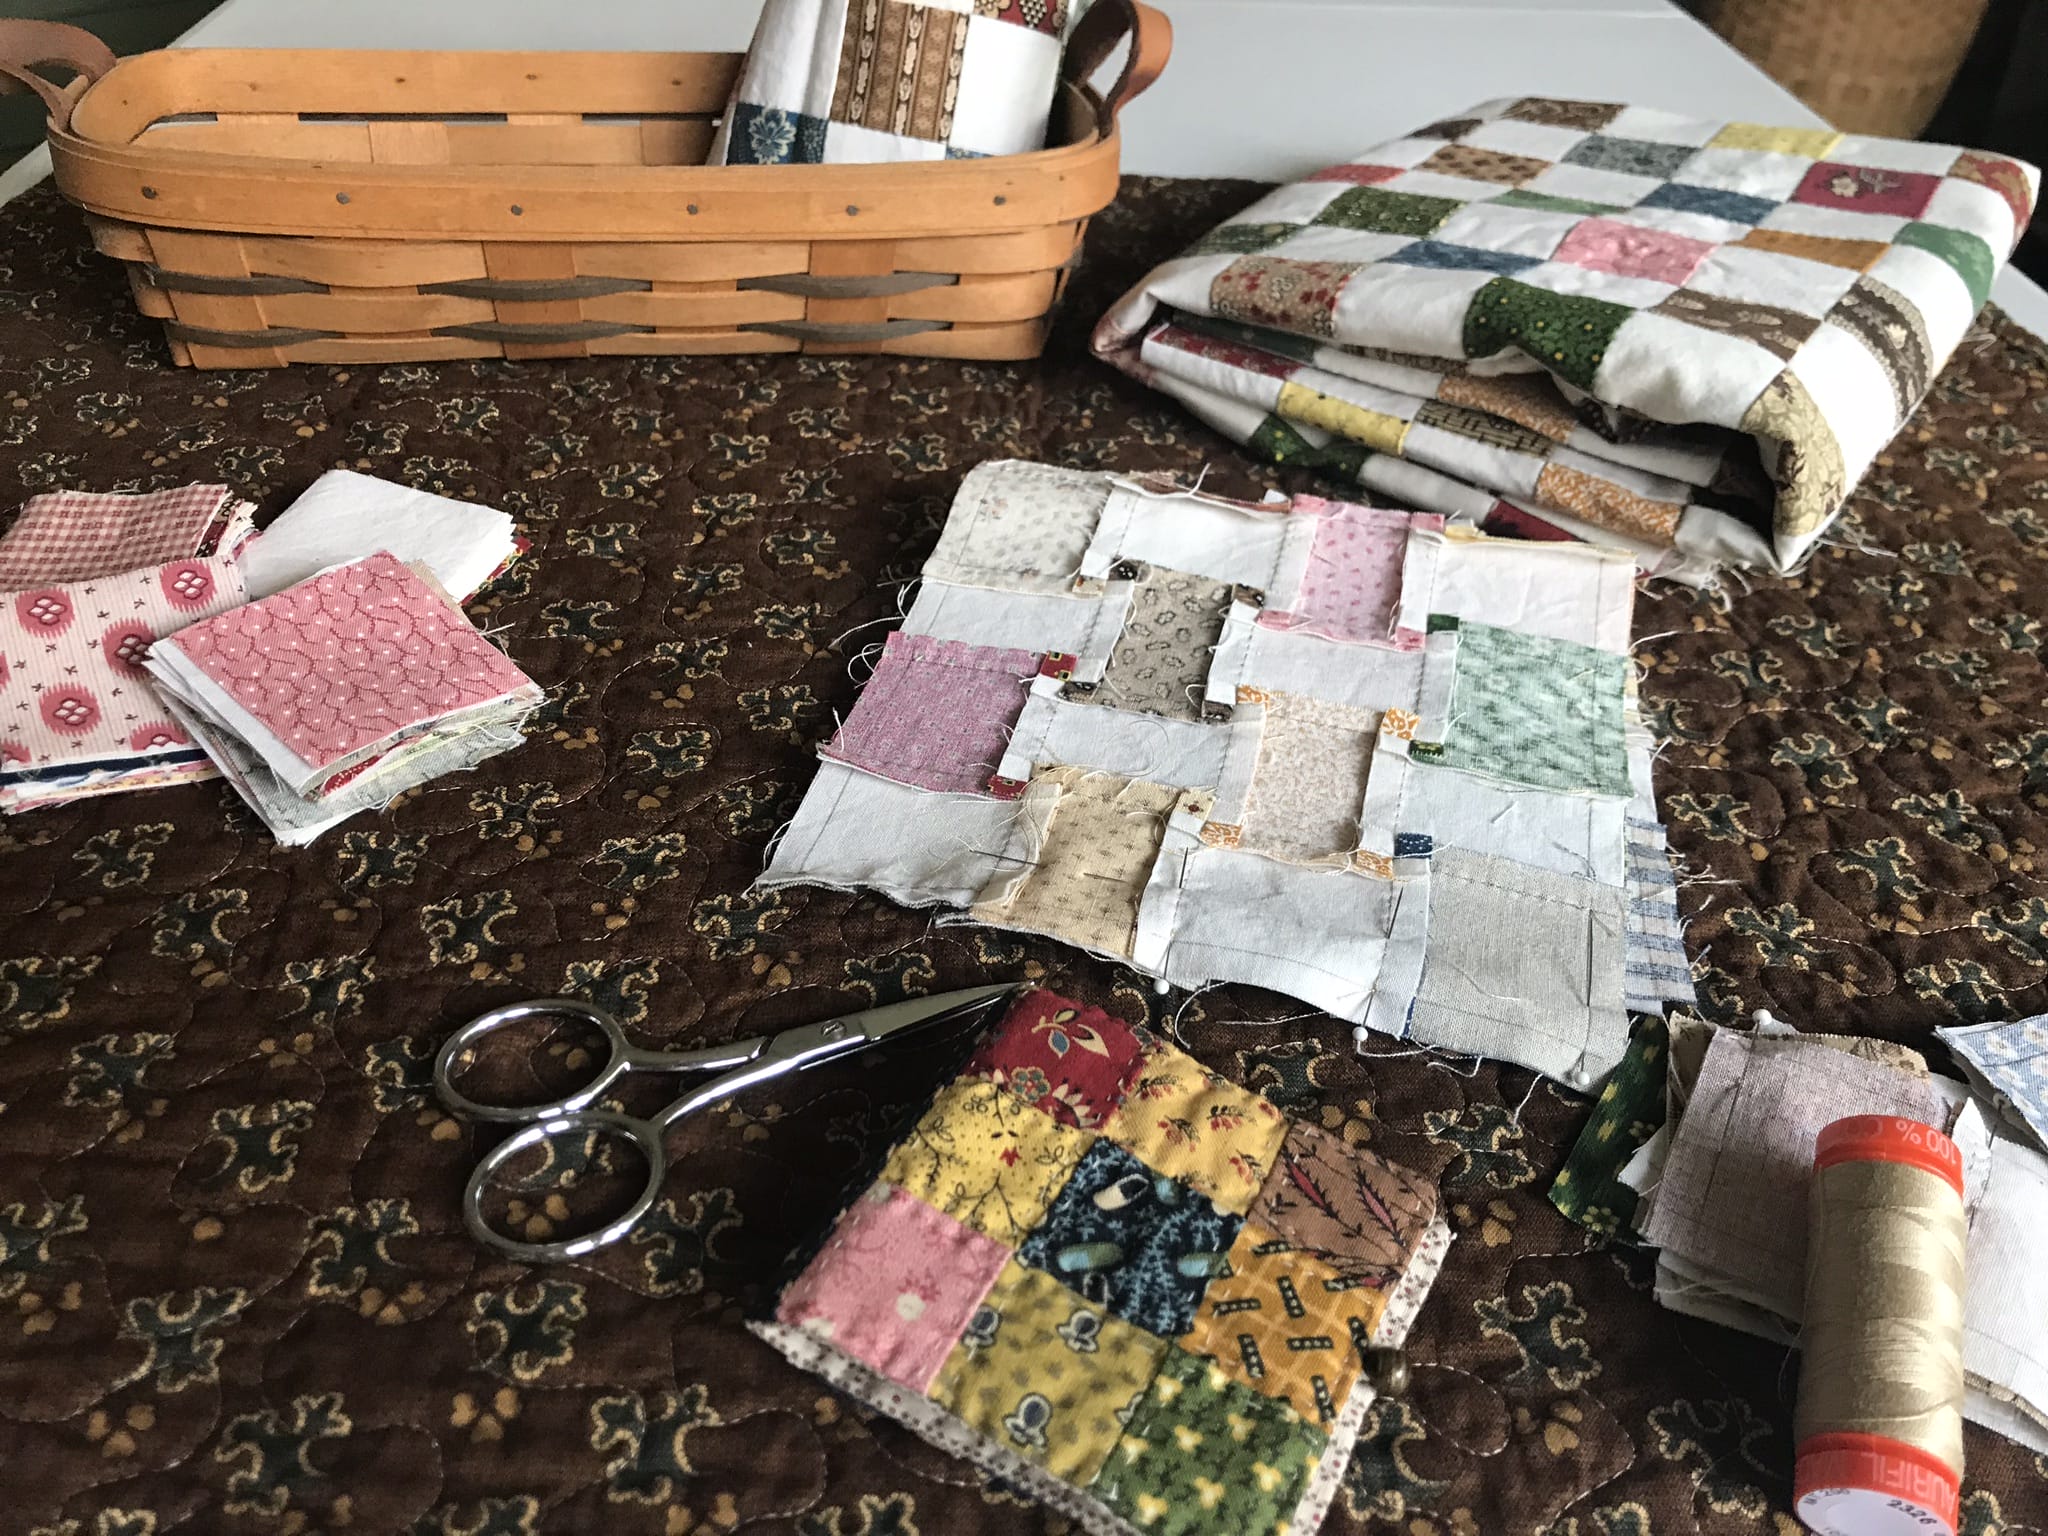
You’re Finished!
A bunch of scrappy four patches that are all different without having to sew them all together from little squares.
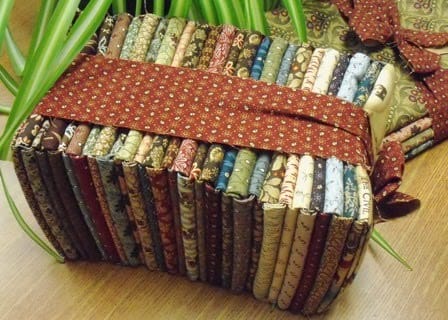
It’s productive to take a bit of time to make a batch of these scrappy four patch blocks and then save them in a basket or box. They will be ready when the urge strikes you to make a scrappy four patch quilt.

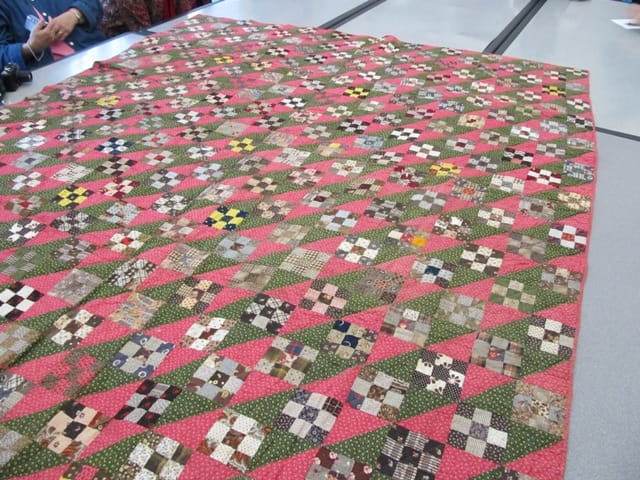
I have the perfect project for you to use these scrappy four patches. Visit this post on how the four patch is a favorite block for small quilts. You’ll need 48 of these 2-1/2″ unfinished blocks for that little quilt.


You are taking me back to Billie Lauder days. She was the best for Quick Tricks. I sure miss her.
Hi Christi – you gotta like a good quick trick!
How clever!
Dear About that Quilt,
There is a formula that works for any sized four-patch. Always start with the finished size, and add seam allowance later. If you wish to make, say, a 6" four-patch block, each square would need to be half that size: 3". If you want a square that finishes at 3", you must cut it at 3 1/2" to allow for 1/4" seams on each side. So cut your strip of fabric 3 1/2" wide. To find how long to cut each piece, just double it: 3 1/2" + 3 1/2" = 7". Keep on quiltin'
Nifty method. Is there a formula to use for other sizes?
This is genius!! Thank you!
Best wishes!
this is simply brilliant I love it and will try it soon.
The idea of cutting the strips twice as long as the width, then alternating light-dark when chain piecing is the "missing link" for scrappy four patches. Just in time to use in the American Patchwork and Quilting four patch sew along. Thanks! Cw********@***oo.com
This was a great post, thank you! I will use it next time on my four patches. Hugs,
You write you are frustrated with your machine, can I ask you which machine you have and why you feel this way (just curious)? I have looked at your labels but do not see one for 'machine' or 'sewing machine' so do not know if you have written about the before.
Thanks!
This is so clever! Thank you for posting this!
Great information. 3” is about as far as I can sew a halfway accurate 1/4” seam.
Wow–who up with this stuff? It is incredible!
That's so cool! I need to try that!
Too clever!
You taught this "old dog" a new trick today! I have a small basket full of 1.5" squares, but will cut 1.5" x 3" rectangles from now on. Thanks for this wonderful tip!
Nice technique. I have some strips cut 1.5". I might give this a try and make a small quilt. Thanks for the inspiration.
I saw this posted on another blog and though how much work was that. Well I can see more accuracy in doing it this way. I do cut strips so it would be easy to get them sewn then cut. Thank you for the info again. Chris